
Check out this very cool vintage Musgrave Pencil Company promotional brochure from the early 60s! Coming in at 2 x 6.5 inches, this pocket-sized promo piece has two sides with six squares each featuring all the steps of how a pencil is made.
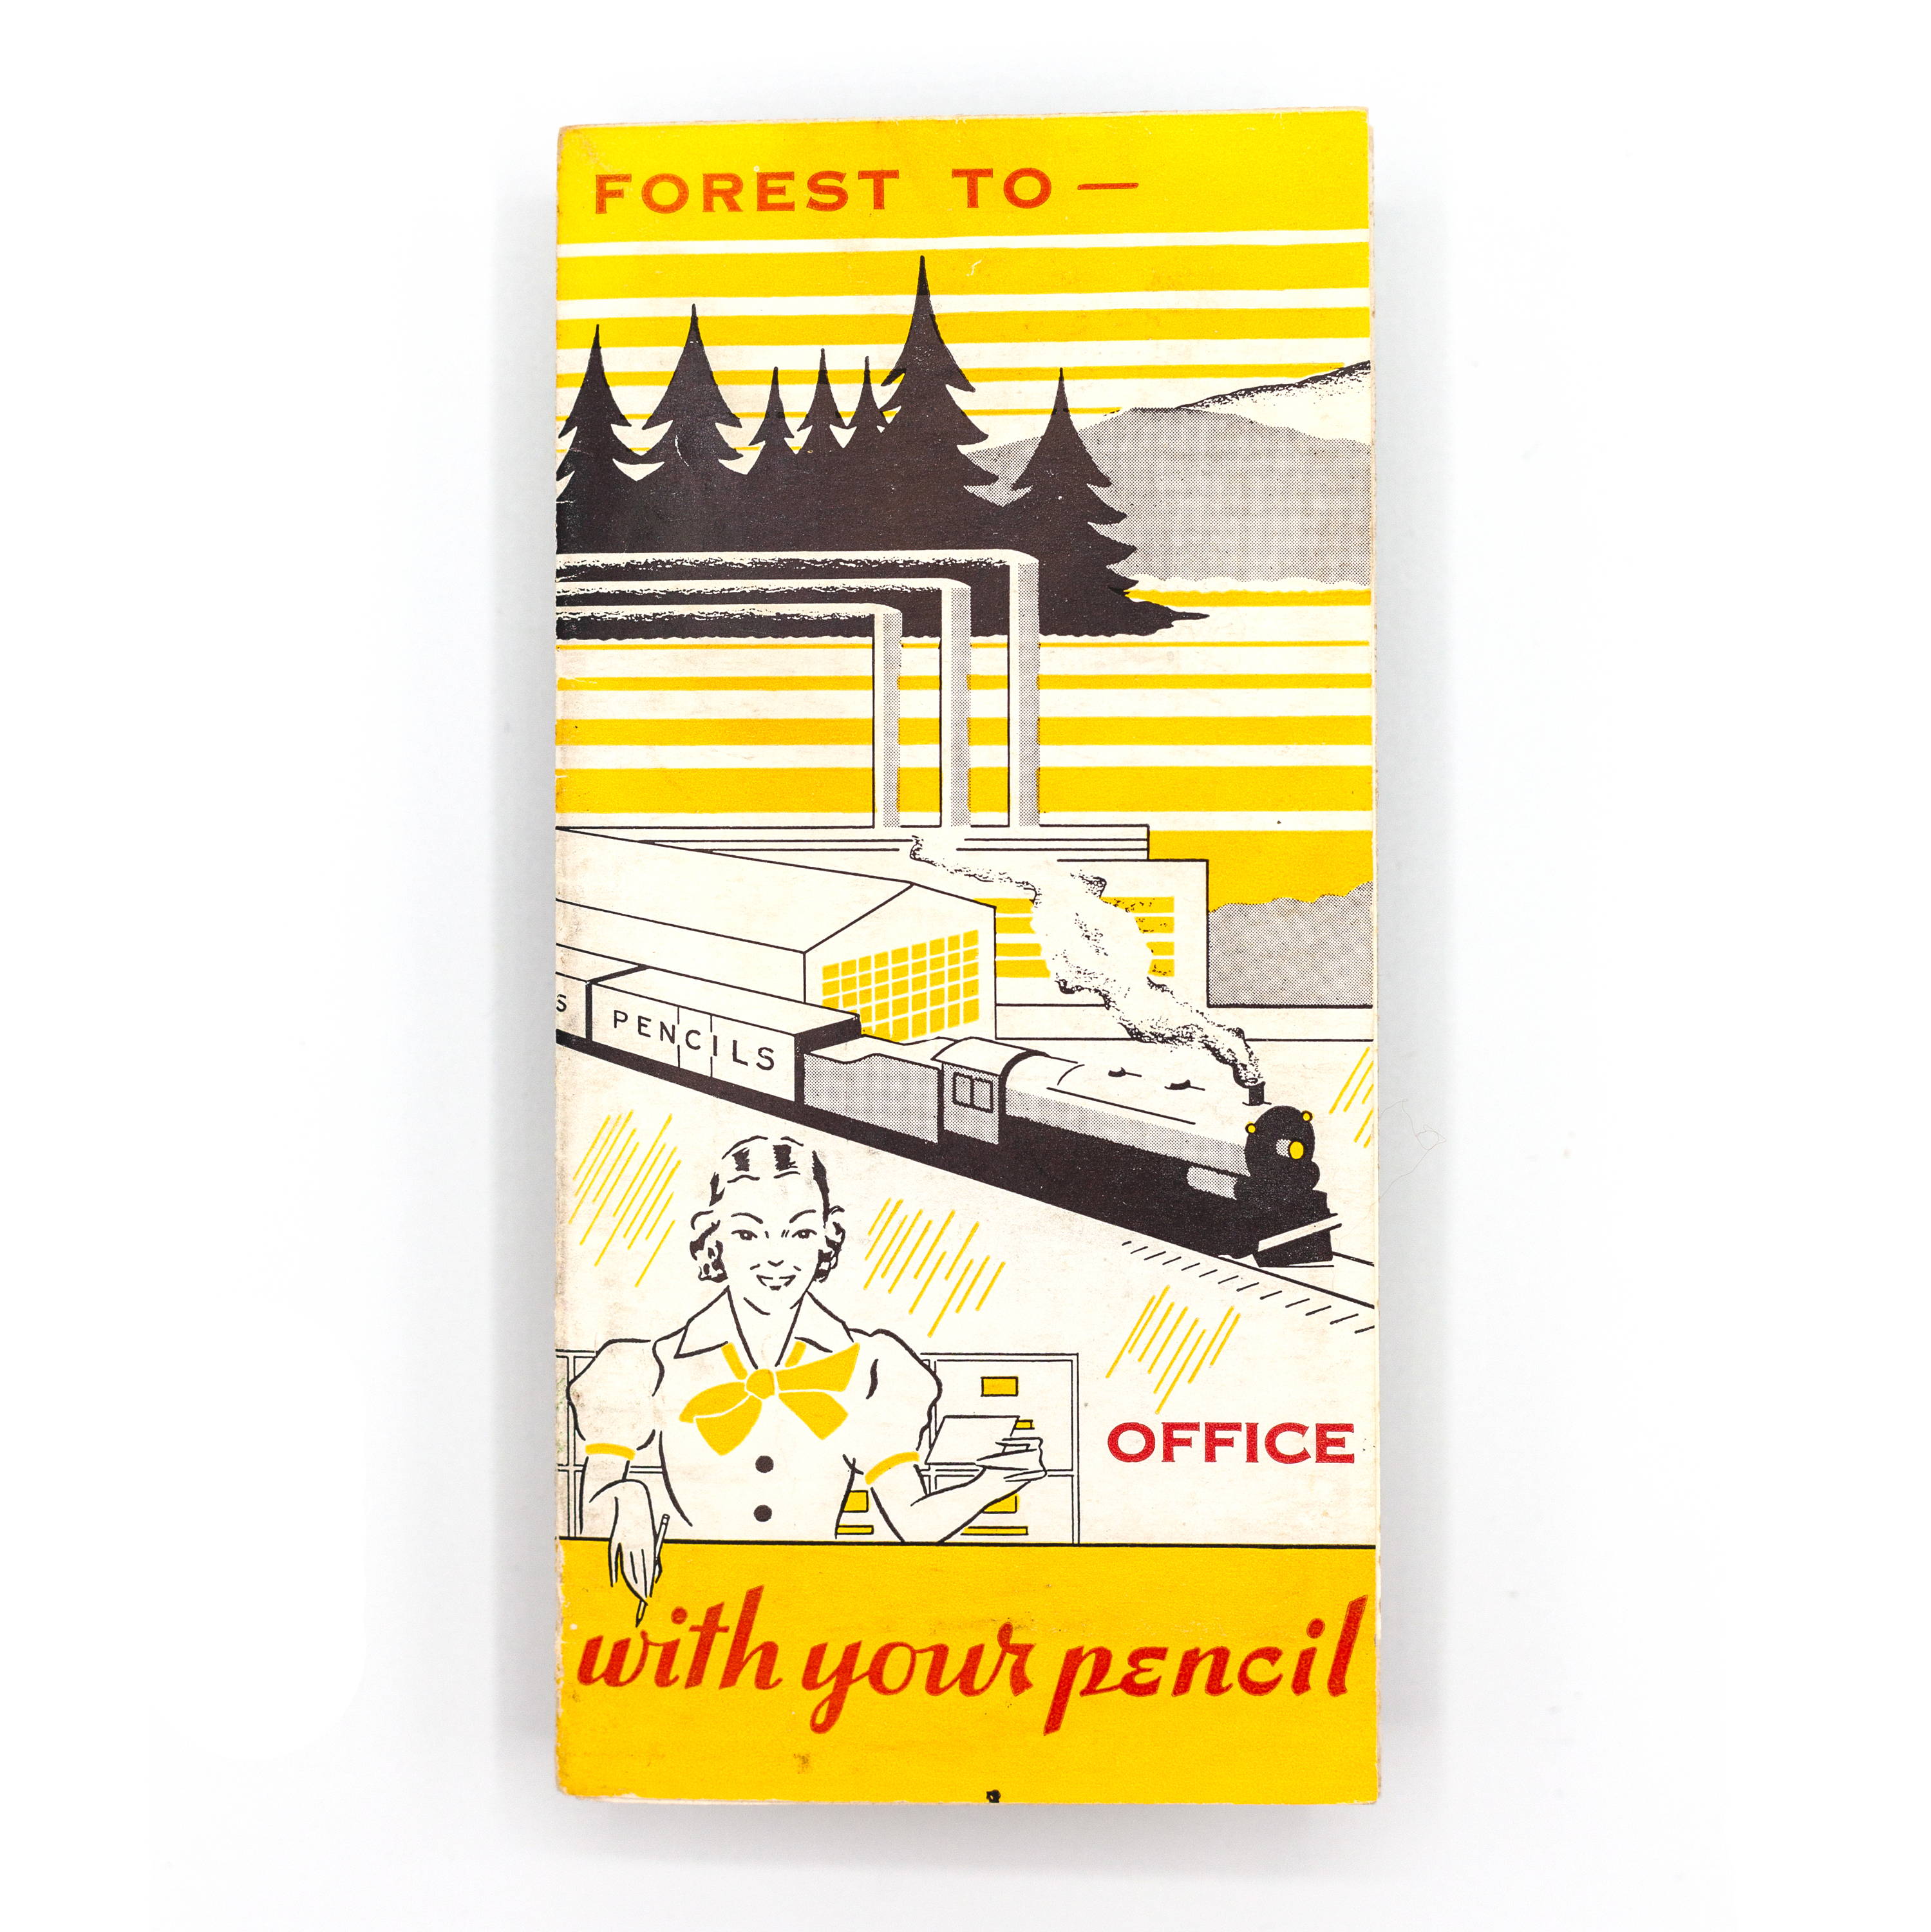
Pencil Brochure Cover
The illustrations lead us to think this may have been from the late 1950s or early 60s. "Forest to Office with your Pencil!"
James Raford Musgrave - Our Founder
The interior center page features an overview of Musgrave Pencil Company and our founder, J. R. Musgrave, “The Man Behind The Harvest Line.” The Harvest Pencil is still sold today!
Interior
The interior design features a history of “lead pencils,” which we all know aren’t made of lead. Doing a little Googling of one of the passages in this section (about the young schoolgirl credited with making graphite), we found ourselves on page 93 of “The Pencil: A History of Design and Circumstance,” and it seems we borrowed a history lesson in this paragraph directly from Charles R. Nichols, who was the director of engineering at Dixon and quoted in the book saying the exact same thing!
Back Cover
The back of the pamphlet features our Tennessee Pencil factory from an aerial view and a mystery Mission Street address in San Francisco. Our hunch is that this was the address of a reseller or pencil distributor. From what we can tell, the building in San Francisco no longer exists.
Vintage Advertising Spread - Pencil Making!
The brochure then folds out into this gorgeous 9-step overview of the pencil making process. You can see close-ups of each step of making a pencil on our Instagram.
Step 1 — Lumber Yard
Back in the day, we used to dry the wood on the grounds of the factory. Both Henry and Rayford - the grandchildren of Mr. Musgrave and long-standing employees and board members - have memories of playing in the lumbar yard as children.
"LUMBER YARD - Extensive storage facilities are necessary for the proper seasoning of the raw cedar which is supplied both by our Southern forests and by the West Coast section. After proper aging, the cedar is kiln-dried under pressure heat to eliminate all oil from the wood."
Step 2 — Ripsaw
This is another step no longer done at the factory - milling. But, you can see the lovely pencil slats as they come in, lined up and ready to move on to their first official step at our factory.
"RIPSAW - The hum of the ripsaw is a familiar sound in pencil manufacture; the bulk cedar must first be cut into slats which are slightly longer than the pencil is to be, and a little more than half as thick."
Step 3 — Classing
Today's pencil machines perform this function much faster and our employees have on significantly less fancy shirts than the one illustrated here.
"CLASSING - The slats are classed for quality and durability and passed on to the slotting operation. In slotting, the slats are grooved to accommodate seven lengths of lead. Each Groove is mechanically spaced so that the pencils will be uniform in width."
Step 4 — Leading
Modern advancements make means that for most pencils, the laying of graphite is no longer done by hand, with the exception of colored pencils.
"LEADING - Equal quantities of the grooved slats are taken to the gluing presses and to the leading room. The leading is done by skilled experts who are careful to avoid imperfections and breakage of the leads."
Step 5 — Gluing
One of the coolest visuals in the factory are the gluing presses stacked up in our wood department. Many of the presses we still use today are very old!
"GLUING - The leaded slats are carefully transported to the gluing presses, where corresponding grooved slats are fitted in place and tightly pressed with hot glue. It will be difficult for you to locate the line on your pencil, along which the slats are glued."
Step 6 — Shaping
This step is one of the most exciting steps in the pencil making process! The glued wood “sandwiches” are transformed into round (or hex!) pencils in our pencil shaping machine.
"SHAPING - The finished slats are moved to a combination of shaping saws which cuts and shapes each set of glued slats into seven pencils. Following the shaping process, the pencils are carefully sandpapered."
Step 7 — Painting
This is another awesome step at the factory. Each day vivid new colors are set up on our pencil painting lines. Each pencil gets between 4 and 10 coats of paint.
"PAINTING - Before the actual process of painting is begun, the pencils are treated with several coats of varnish, following which they are hand-dipped in special paint. The varnish protects the cedar from moisture and serves as a smooth base for the paint, which is applied both for beauty and for the protection of your hands."
Step 8 — Tipping
This illustration looks remarkably similar to the set up of pencil tipping machines today!
"TIPPING - The pencils, nearing completion, are placed in the automatic tipping machines, which apply the rubber erasers and clamp them with metal ferrules. Tipping is fully automatic operation and, under normal usage, the eraser will never come out."
Step 9 — Stamping
This is the imprinting process today. This brochure has the tipping before imprinting; today we imprint pencils prior to tipping.
"STAMPING - The last operation is that of stamping the finished pencils. The degree of hardness of the pencil is specified by number and the name is for identification. The finished pencils are then packed in boxes and stored for future shipment."
Love this series? We're always posting great images and videos of our custom pencils on our Instagram. Follow the hashtag #vintagemusgrave for awesome vintage pencil content.